
Understanding ISO in Photography: A Comprehensive Guide
Master ISO to control your camera's sensitivity to light. Learn how adjusting ISO settings affects exposure and image quality, enabling you to capture sharp photos in various lighting conditions.
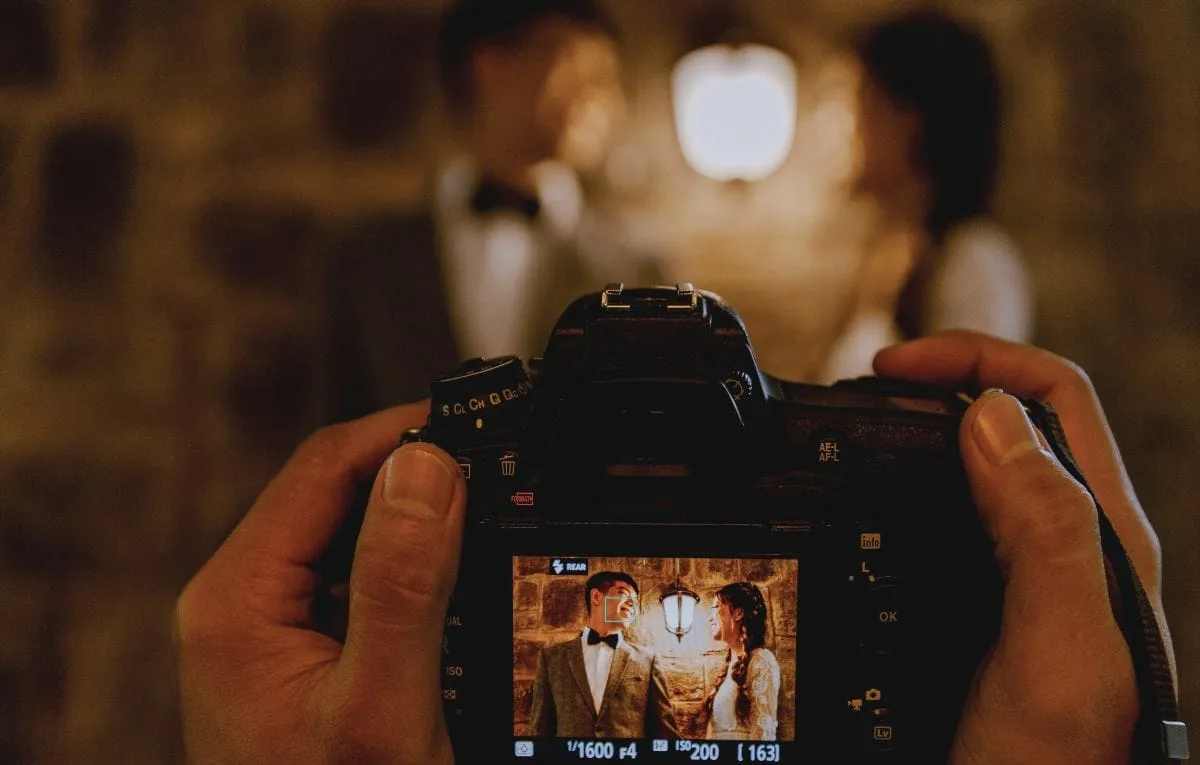
ISO is one of the three fundamental pillars of photography, along with shutter speed and aperture. It plays a crucial role in controlling the brightness of your images and determining how your camera performs in different lighting conditions. Mastering ISO allows you to take sharp, well-exposed photos in both bright and low-light environments. In this guide, we’ll break down the essentials of ISO, how to use it effectively, and when to adjust it for the best results.
This post contains affiliate links. If you make a purchase through these links, I may earn a commission at no additional cost to you. As an Amazon Associate, I earn from qualifying purchases.
Quick Summary: Mastering ISO
📌 What is ISO? – ISO controls the camera sensor's sensitivity to light, affecting brightness and noise.
📌 What’s the best ISO for daylight photography? – Keep ISO low (100–200) for the best image quality.
📌 How do I reduce noise in low-light photos? – Use a lower ISO and compensate with a wider aperture or slower shutter speed.
What is ISO?
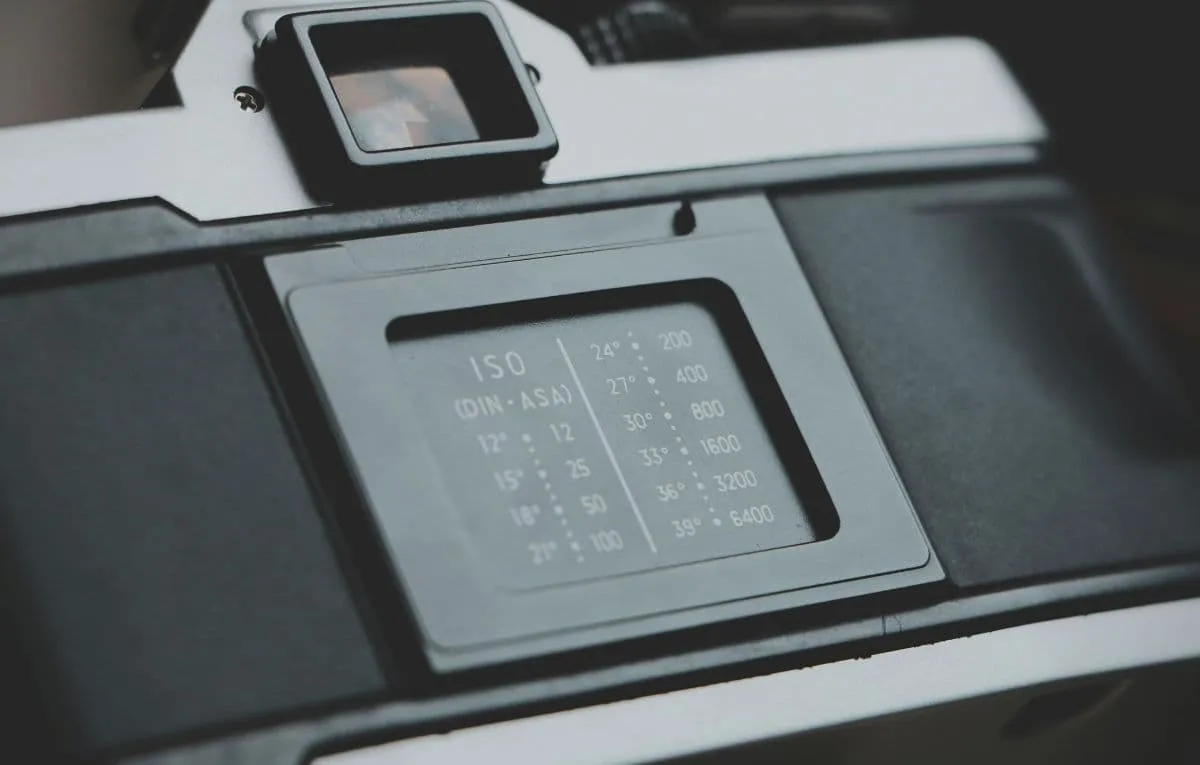
ISO measures how sensitive your camera sensor is to light. It is represented as a numerical value (ISO 100, ISO 200, ISO 3200, etc.), where lower numbers mean less sensitivity and higher numbers mean greater sensitivity.
ISO Scale & Sensitivity
- Low ISO (100–200): Produces the least noise and the highest image quality. Best for bright environments.
- Mid-range ISO (400–1600): Ideal for indoor or cloudy conditions, balancing brightness and noise.
- High ISO (3200–12800+): Suitable for extreme low-light situations but introduces noticeable grain or noise.
Practical Examples of ISO Settings
| ISO Level | Best Used For |
|---|---|
| 100 - 200 | Bright daylight, outdoor photography |
| 400 - 800 | Cloudy conditions, indoor photography |
| 1600 - 3200 | Low-light scenes, concerts, night photography |
| 6400+ | Extreme low-light, astrophotography |
How ISO Affects Your Photos
ISO influences two key aspects of an image:
- Brightness: Higher ISO values increase brightness in low-light conditions.
- Noise & Grain: Increasing ISO also increases digital noise, reducing image clarity.
Real-World Applications:
📌 Sunny Outdoor Shoots (ISO 100-200): When shooting on a bright day, keep ISO at its lowest setting for sharp, detailed images.
📌 Indoor Photography (ISO 400-800): If shooting indoors with natural light, a moderate ISO helps balance exposure without adding noise.
📌 Concerts & Night Photography (ISO 1600-3200): When light is limited, increasing ISO helps maintain a fast shutter speed to avoid motion blur.
📌 Astrophotography (ISO 6400+): To capture stars and faint light sources, a high ISO is often necessary but may require noise reduction in post-processing.
When to Adjust Your ISO
Unlike shutter speed and aperture, ISO should generally be kept as low as possible to maintain image quality. However, there are times when increasing ISO is beneficial:
- When light is low and a slow shutter speed isn’t practical (e.g., shooting handheld in a dimly lit room).
- When capturing fast-moving subjects in low light (e.g., indoor sports photography).
- When using long telephoto lenses that require faster shutter speeds to avoid blur.
Understanding Auto ISO
Most modern cameras have an Auto ISO setting, which automatically adjusts ISO based on lighting conditions. This is useful for:
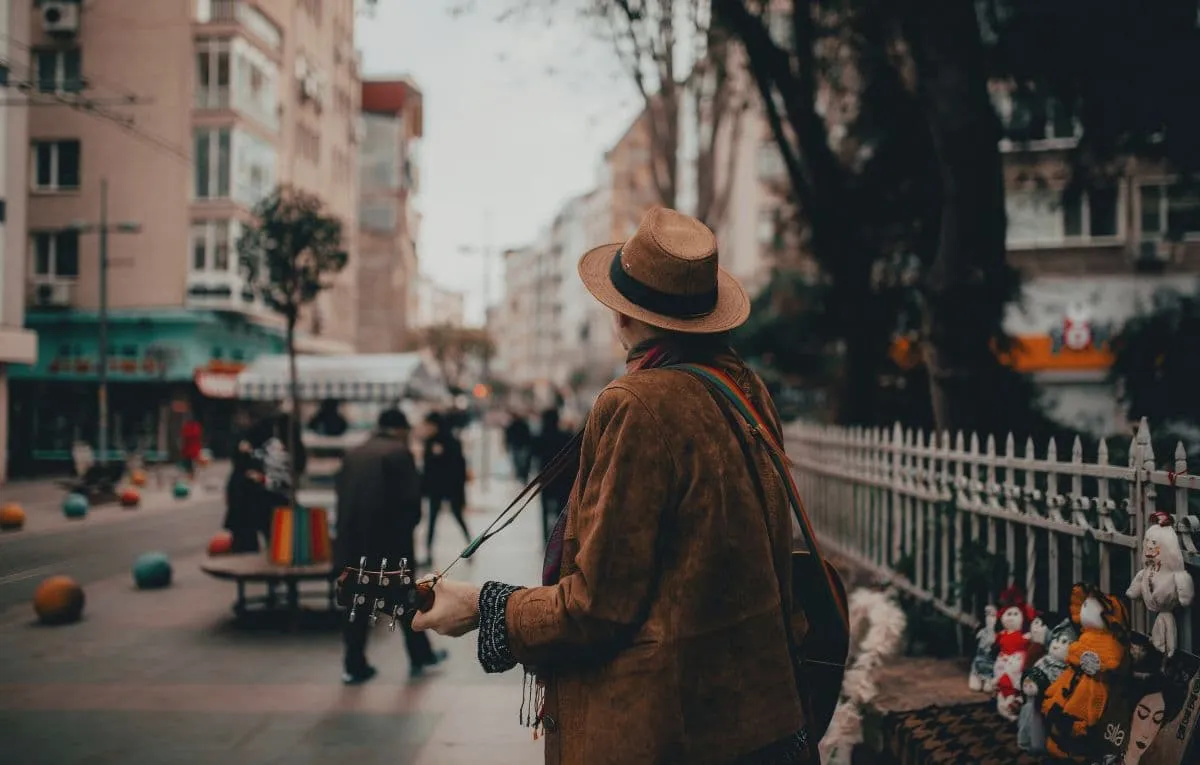
- Street and event photography, where lighting changes rapidly.
- Beginner photographers who want a balanced exposure without manually adjusting ISO.
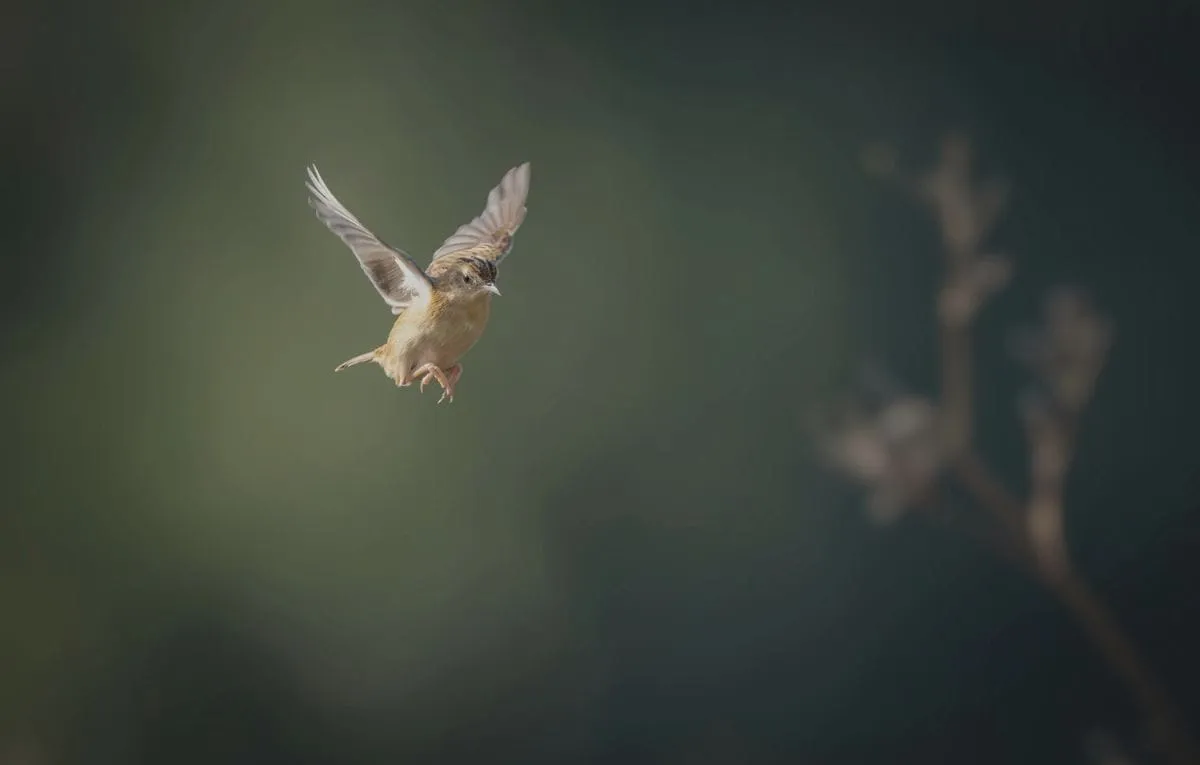
- Situations where fast response time is essential, such as wildlife or sports photography.
When using Auto ISO, set a maximum ISO limit (e.g., ISO 3200) to prevent excessive noise.
Essential Gear for Managing ISO Effectively
To minimize noise while using high ISO settings, consider investing in:
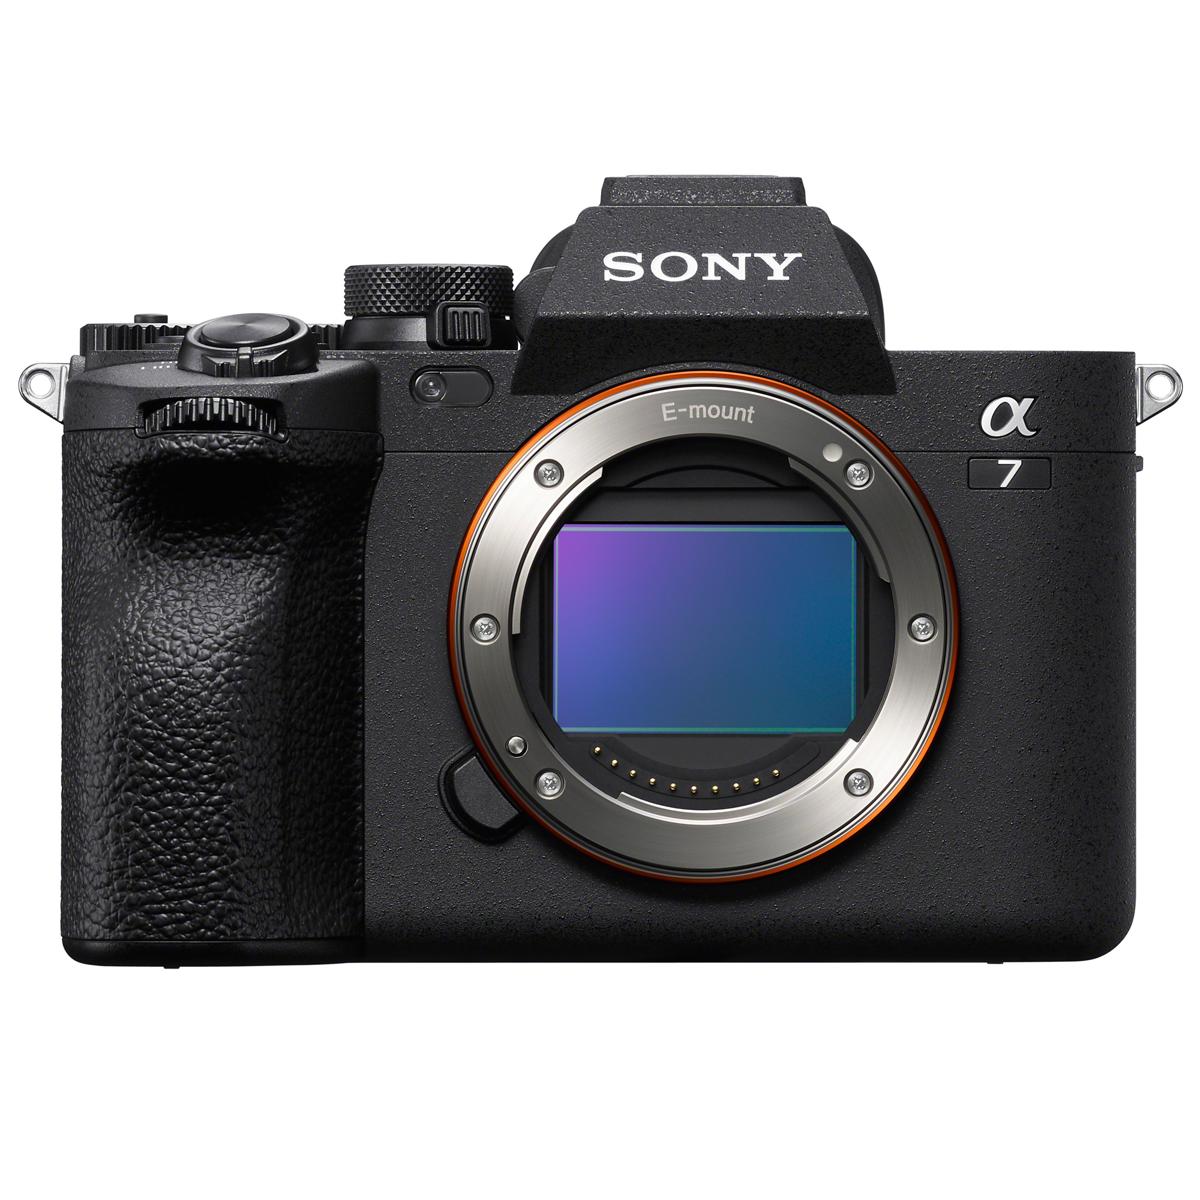
Best Low-Light Camera – Excellent high ISO performance for low-light photography.
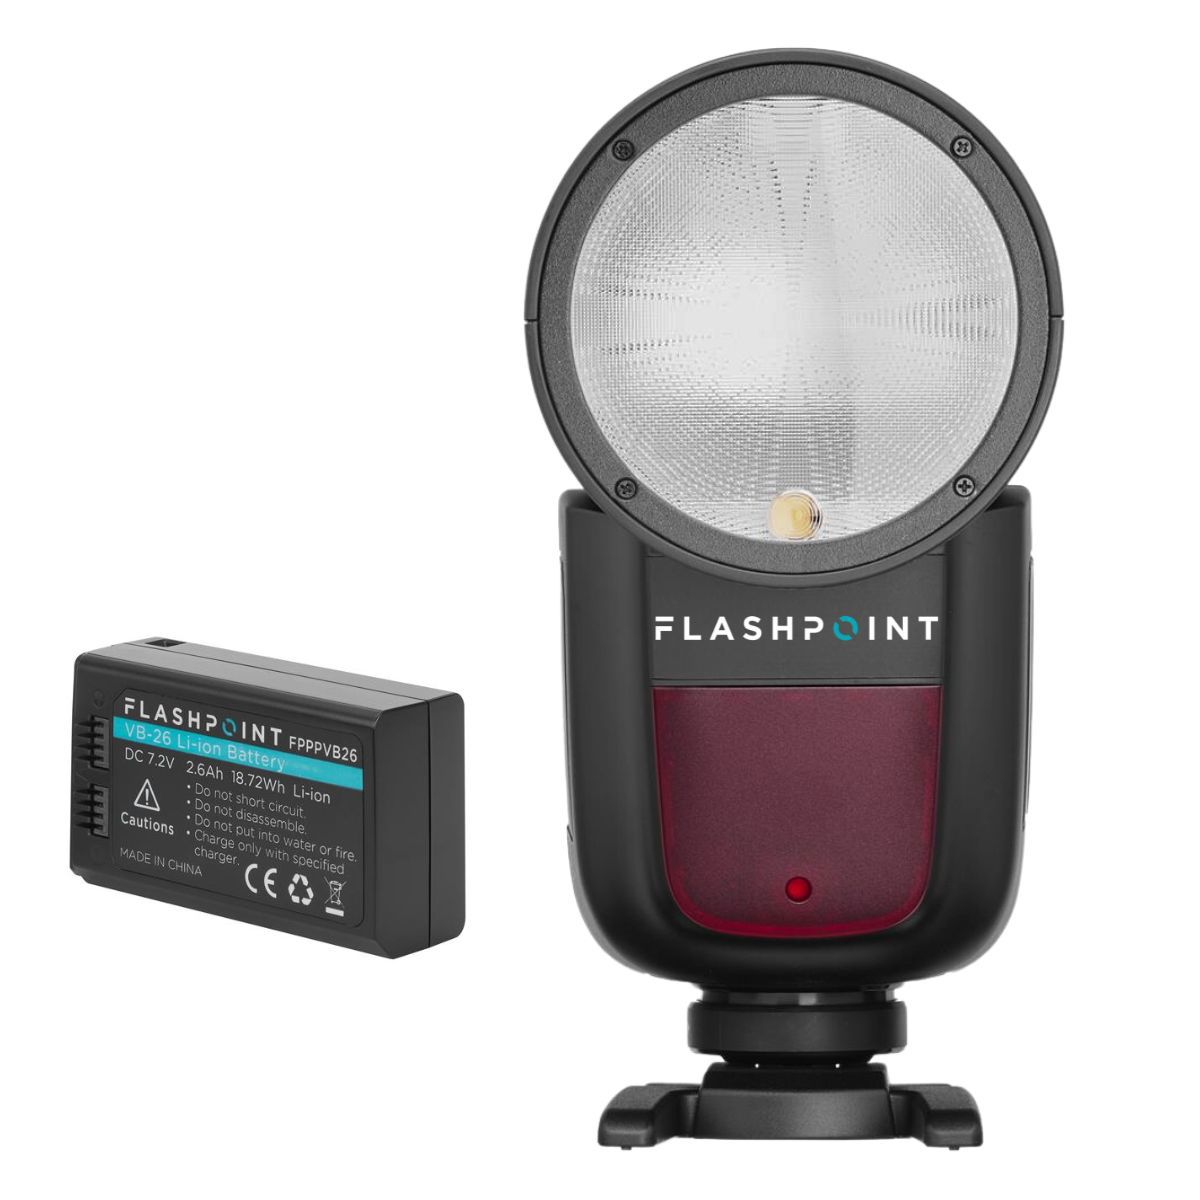
Best External Flash – Provides powerful, versatile lighting to reduce the need for high ISO in low-light conditions.
Best Fast Lens for Low Light – Large aperture allows for lower ISO use in dim settings.

FAQ Section
What is the best ISO for portraits?
For studio or outdoor portraits, use ISO 100-400 to maintain detail and avoid unnecessary noise.
How do I reduce noise at high ISO?
Use a wider aperture (low f-stop) and a slower shutter speed, or apply noise reduction in post-processing.
Can high ISO damage my camera sensor?
No, but consistently using high ISO can degrade image quality due to excessive noise.
Want To Learn More?
For more photography tips and techniques, check out:
- Understanding Aperture in Photography: A Comprehensive Guide
- Understanding Shutter Speed in Photography: A Comprehensive Guide
- Understanding the Exposure Triangle in Photography: A Comprehensive Guide
Final Thoughts
ISO is a powerful tool that allows photographers to shoot in various lighting conditions while balancing exposure and image quality. Keeping ISO low ensures clean, sharp images, while knowing when to increase ISO helps in low-light scenarios. Experiment with different ISO settings, leverage Auto ISO when needed, and optimize your camera gear for the best results.