
Understanding the Exposure Triangle in Photography: A Comprehensive Guide
Master the Exposure Triangle—aperture, shutter speed, and ISO—to achieve perfect exposure in your photos. Learn how these three elements interact to control light, motion, and depth of field, enhancing your photography skills.

The Exposure Triangle is one of the most fundamental concepts in photography. It consists of shutter speed, aperture, and ISO, which work together to control the brightness of an image. Mastering the Exposure Triangle allows photographers to balance light, motion, and depth of field, ensuring properly exposed and creatively enhanced photos. In this guide, we’ll break down each component, explain its impact, and show how to use the Exposure Triangle effectively.
This post contains affiliate links. If you make a purchase through these links, I may earn a commission at no additional cost to you. As an Amazon Associate, I earn from qualifying purchases.
Quick Summary: Mastering the Exposure Triangle
📌 What is the Exposure Triangle? – A concept that explains the relationship between shutter speed, aperture, and ISO in controlling exposure.
📌 Why is it important? – It ensures correct brightness, prevents over/underexposure, and provides creative control.
📌 How do you use it? – Adjust one setting while compensating with the other two to maintain exposure balance.
What is the Exposure Triangle?
The Exposure Triangle is a framework that illustrates how three settings—shutter speed, aperture, and ISO—work together to determine exposure.
Each of these settings affects the brightness of an image, but they also influence other elements, such as motion blur and depth of field. Understanding how to adjust them allows you to take full creative control of your photography.
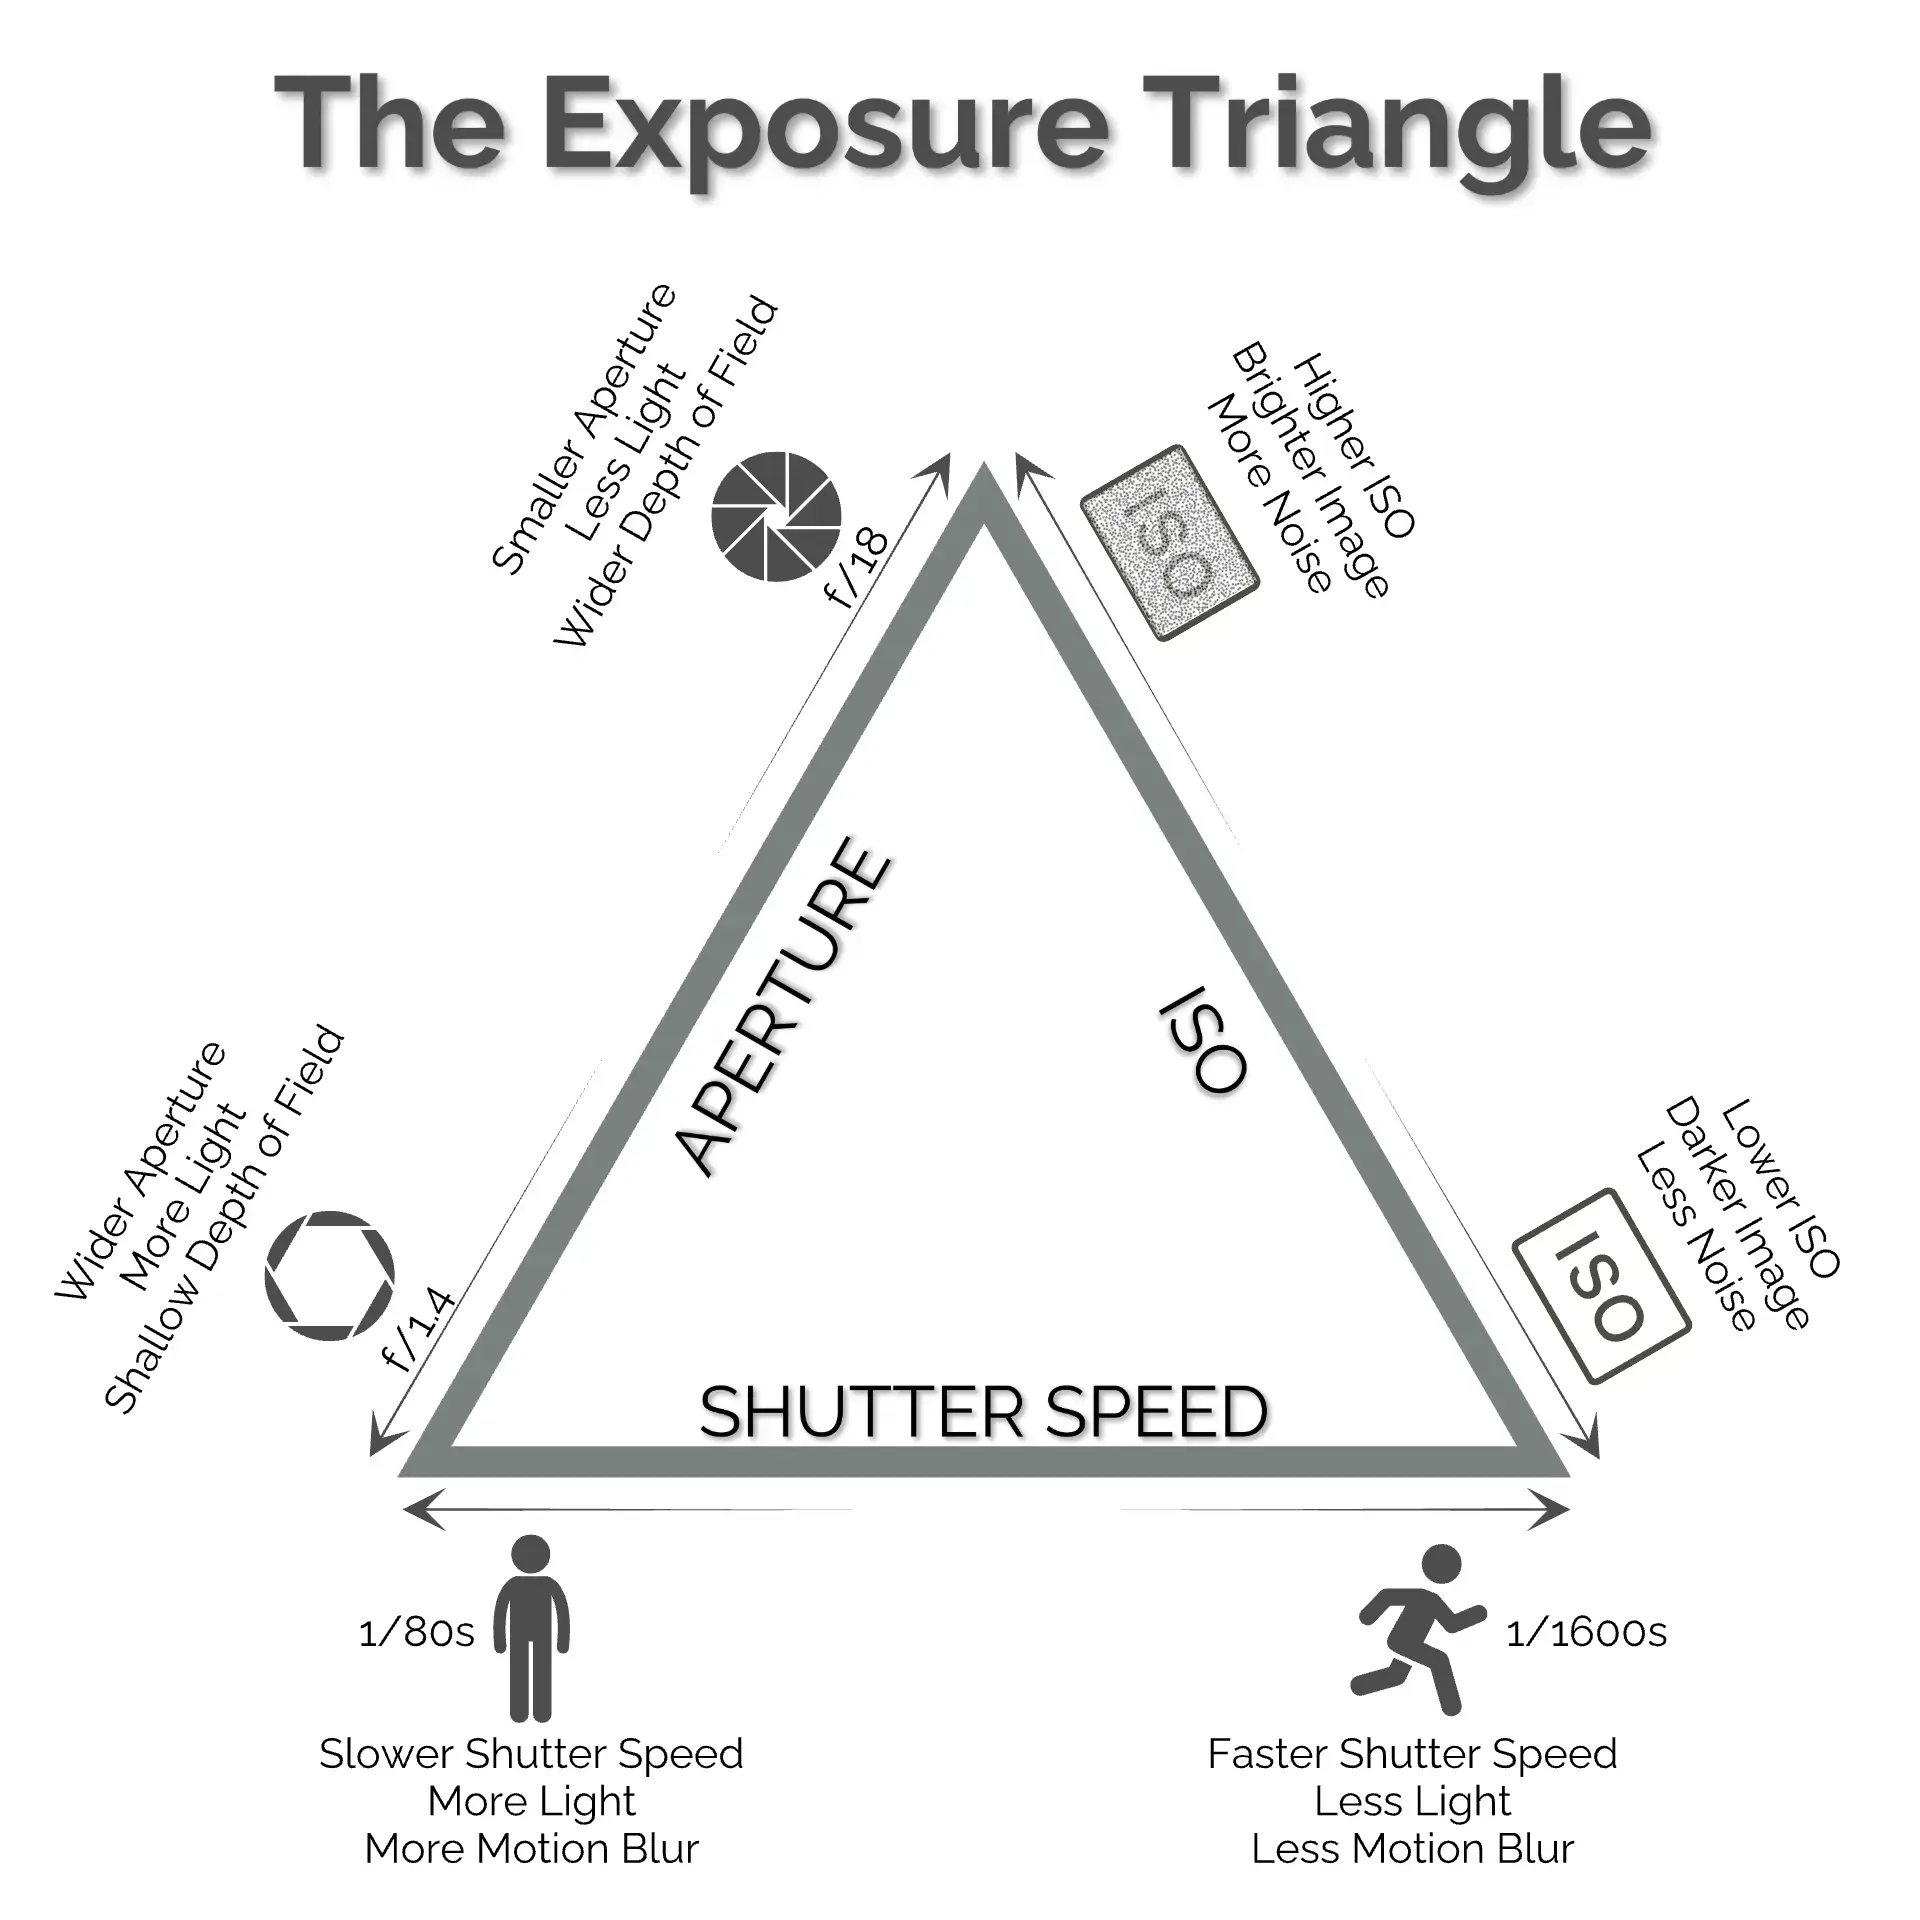
The Three Elements of the Exposure Triangle:
- Shutter Speed: Controls how long the camera sensor is exposed to light.
- Aperture: Determines how much light enters through the lens.
- ISO: Adjusts the sensor’s sensitivity to light.
Breakdown of Exposure Triangle Components
| Element | Function | Side Effect |
|---|---|---|
| Shutter Speed | Controls motion & exposure | Affects motion blur |
| Aperture | Controls depth of field & exposure | Affects background blur (bokeh) |
| ISO | Controls sensor sensitivity & exposure | Affects image noise |
How Each Component Affects Exposure
1. Shutter Speed: Controlling Motion
Shutter speed refers to the length of time the camera’s sensor is exposed to light. It is measured in fractions of a second (e.g., 1/1000s, 1/250s, 1s).
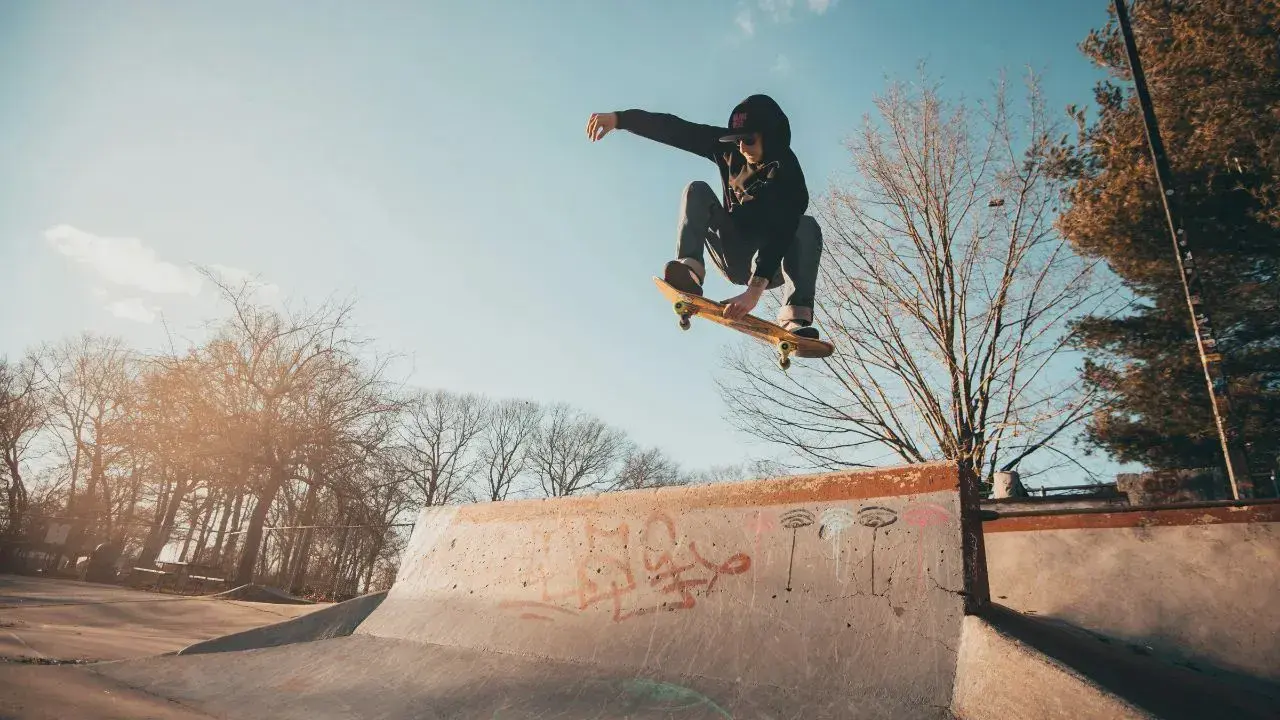
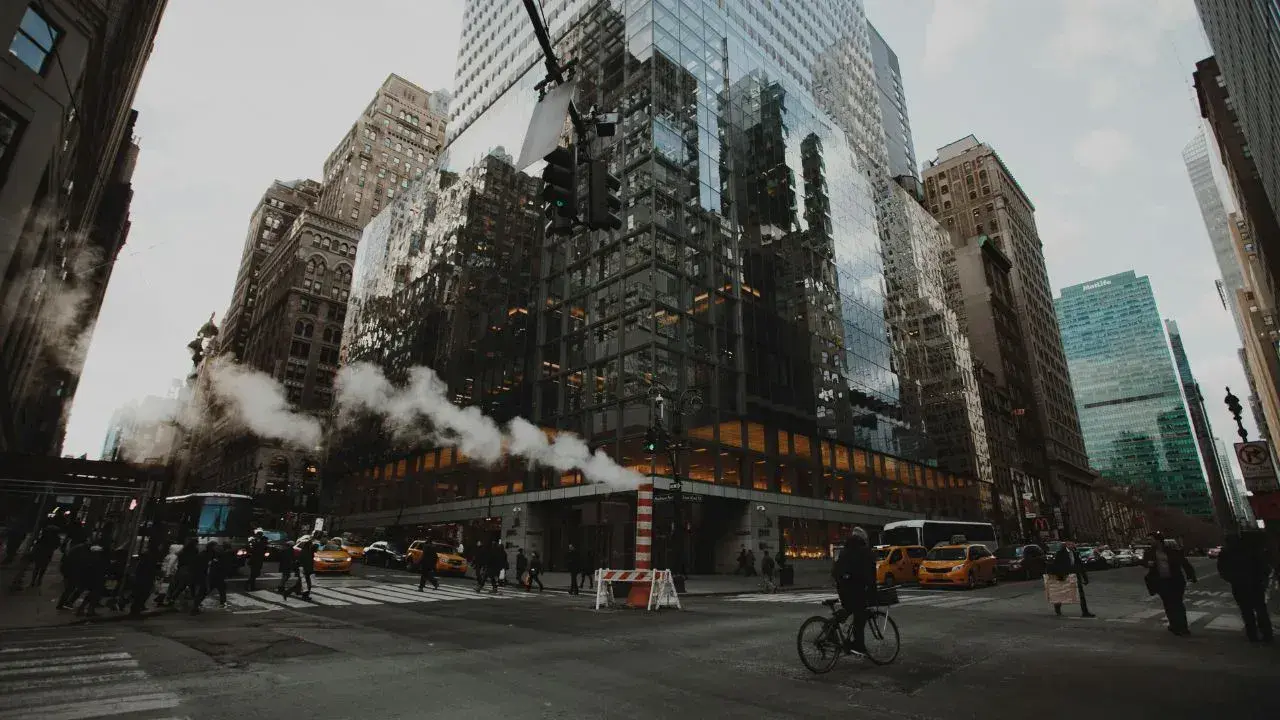
- Fast shutter speeds (1/1000s - 1/4000s): Freeze motion, great for sports or wildlife.
- Moderate speeds (1/250s - 1/500s): Standard for handheld photography.
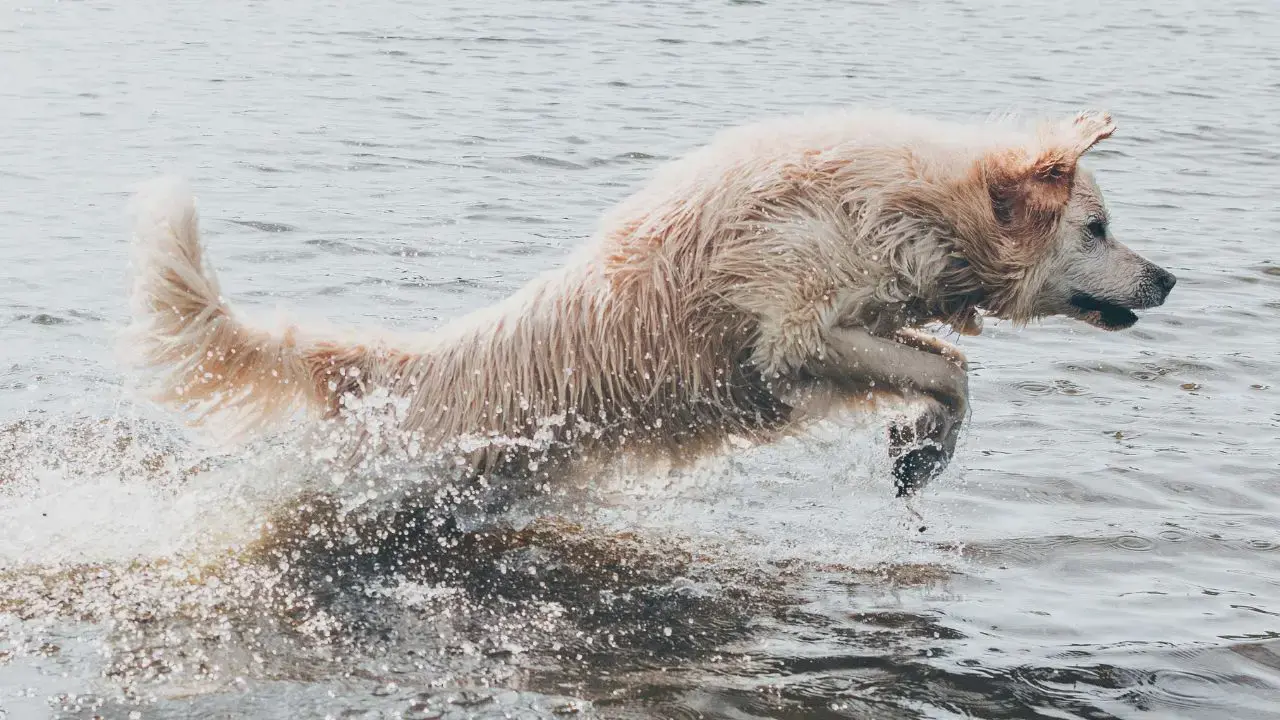
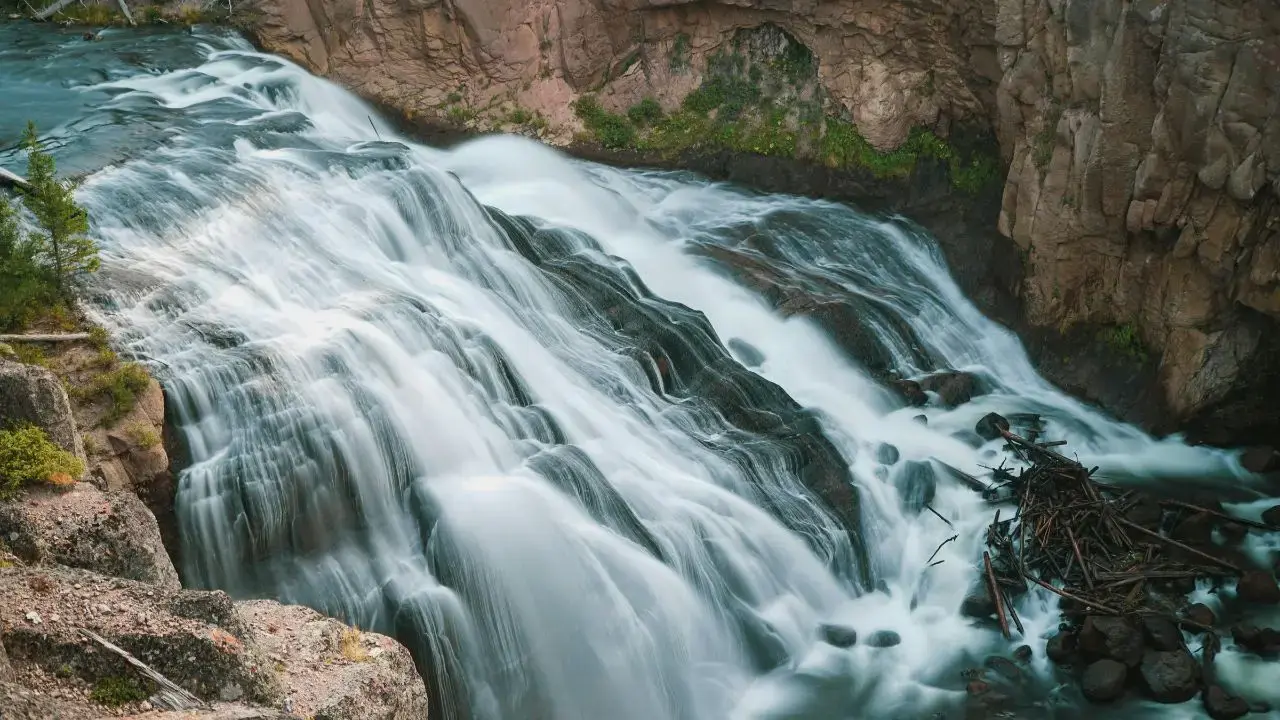
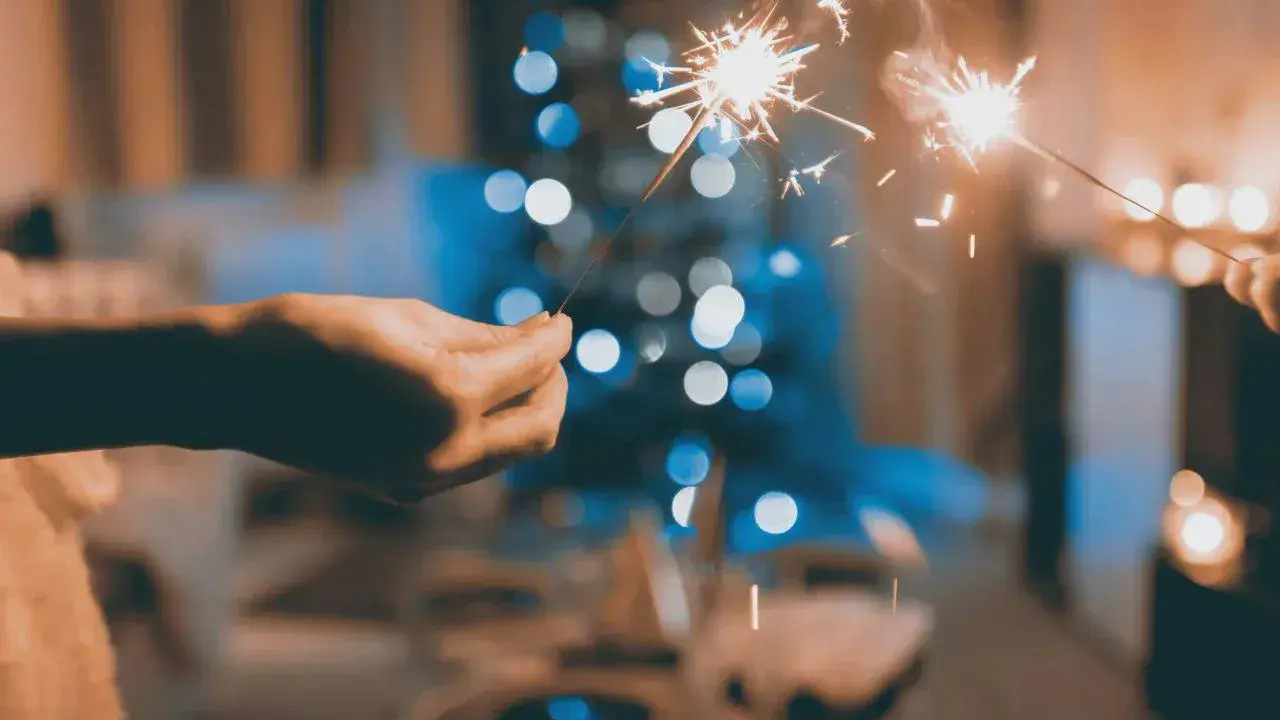
- Slow shutter speeds (1/30s - 1s+): Create motion blur, useful for waterfalls and light trails.
🔹 Example: If you increase shutter speed to freeze action, less light enters, so you may need to increase ISO or widen the aperture to compensate.
2. Aperture: Controlling Depth of Field
Aperture controls the size of the lens opening, which regulates how much light reaches the sensor. It is measured in f-stops (f/1.4, f/2.8, f/5.6, f/11, etc.).
- Wide aperture (f/1.4 - f/2.8): More light, shallow depth of field, great for portraits.
- Mid-range aperture (f/4 - f/8): Balanced exposure, good for general photography.
- Narrow aperture (f/11 - f/22): Less light, deep depth of field, ideal for landscapes.
🔹 Example: If you use a narrow aperture for a landscape shot, less light enters, so you may need to decrease shutter speed or increase ISO to maintain exposure.

3. ISO: Controlling Sensor Sensitivity
ISO determines how sensitive your camera’s sensor is to light. It is measured in numbers such as ISO 100, ISO 400, ISO 3200, etc.
- Low ISO (100-200): Best for bright conditions, minimal noise.
- Mid-range ISO (400-1600): Good for indoor or low-light situations.
- High ISO (3200+): Used in extreme low-light, introduces noise.
🔹 Example: If you increase ISO for night photography, the image will brighten, but you might introduce noise, which may require noise reduction in post-processing.
How to Balance the Exposure Triangle
Adjusting one setting requires compensating with another to maintain proper exposure. Here’s how to balance exposure in different conditions:
📌 Bright Daylight: Keep ISO low (100), use a fast shutter speed (1/1000s), and adjust aperture as needed.
📌 Low Light Indoors: Use a moderate ISO (400-1600), a wider aperture (f/2.8), and a moderate shutter speed (1/125s).
📌 Night Photography: Use a high ISO (3200+), a slower shutter speed (1s+), and a wide aperture (f/1.8) to capture more light.
Essential Gear for Managing Exposure Effectively
To get the best results when adjusting exposure, consider using the following gear.
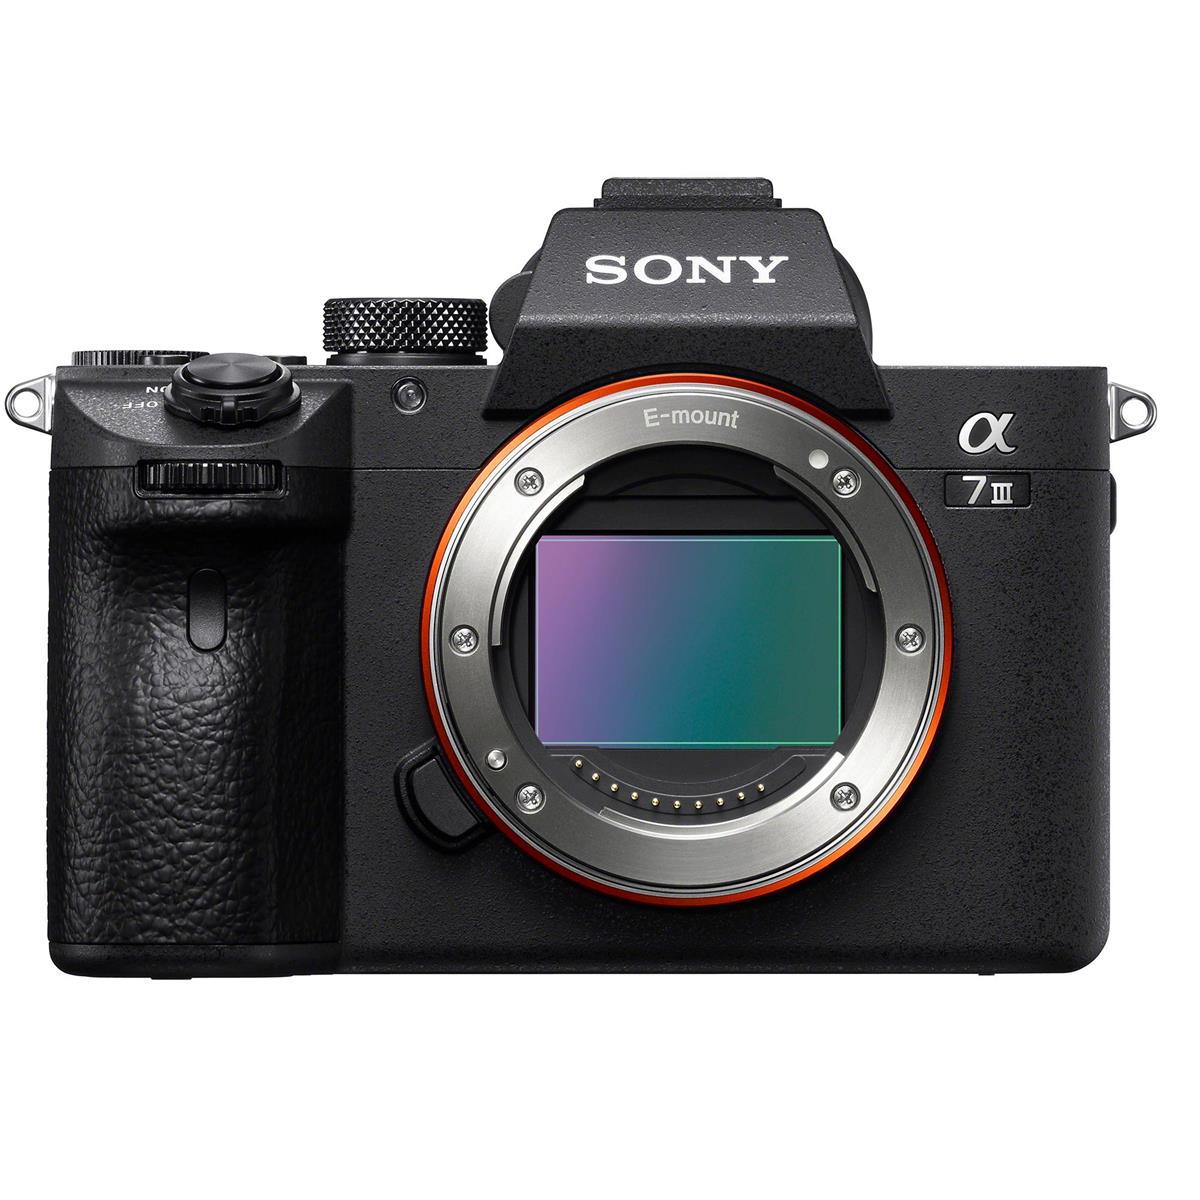
Best Beginner Full-Frame Camera – Perfect balance of image quality, low-light performance, and dynamic range.
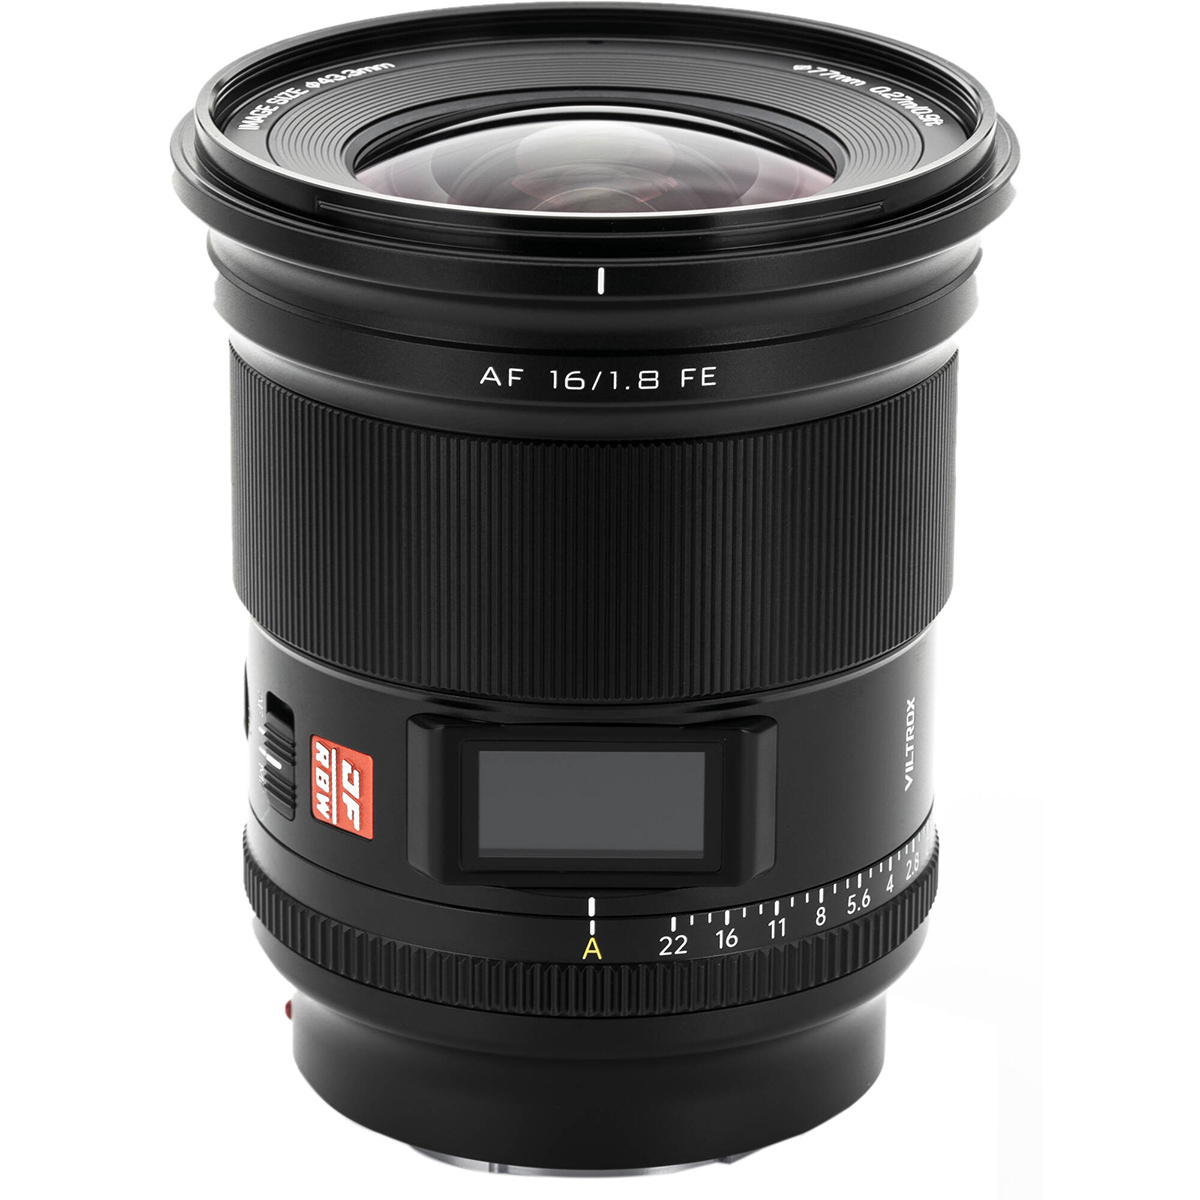
Best Budget Landscape Lens – Wide-angle prime with sharp optics, great for capturing vast landscapes.
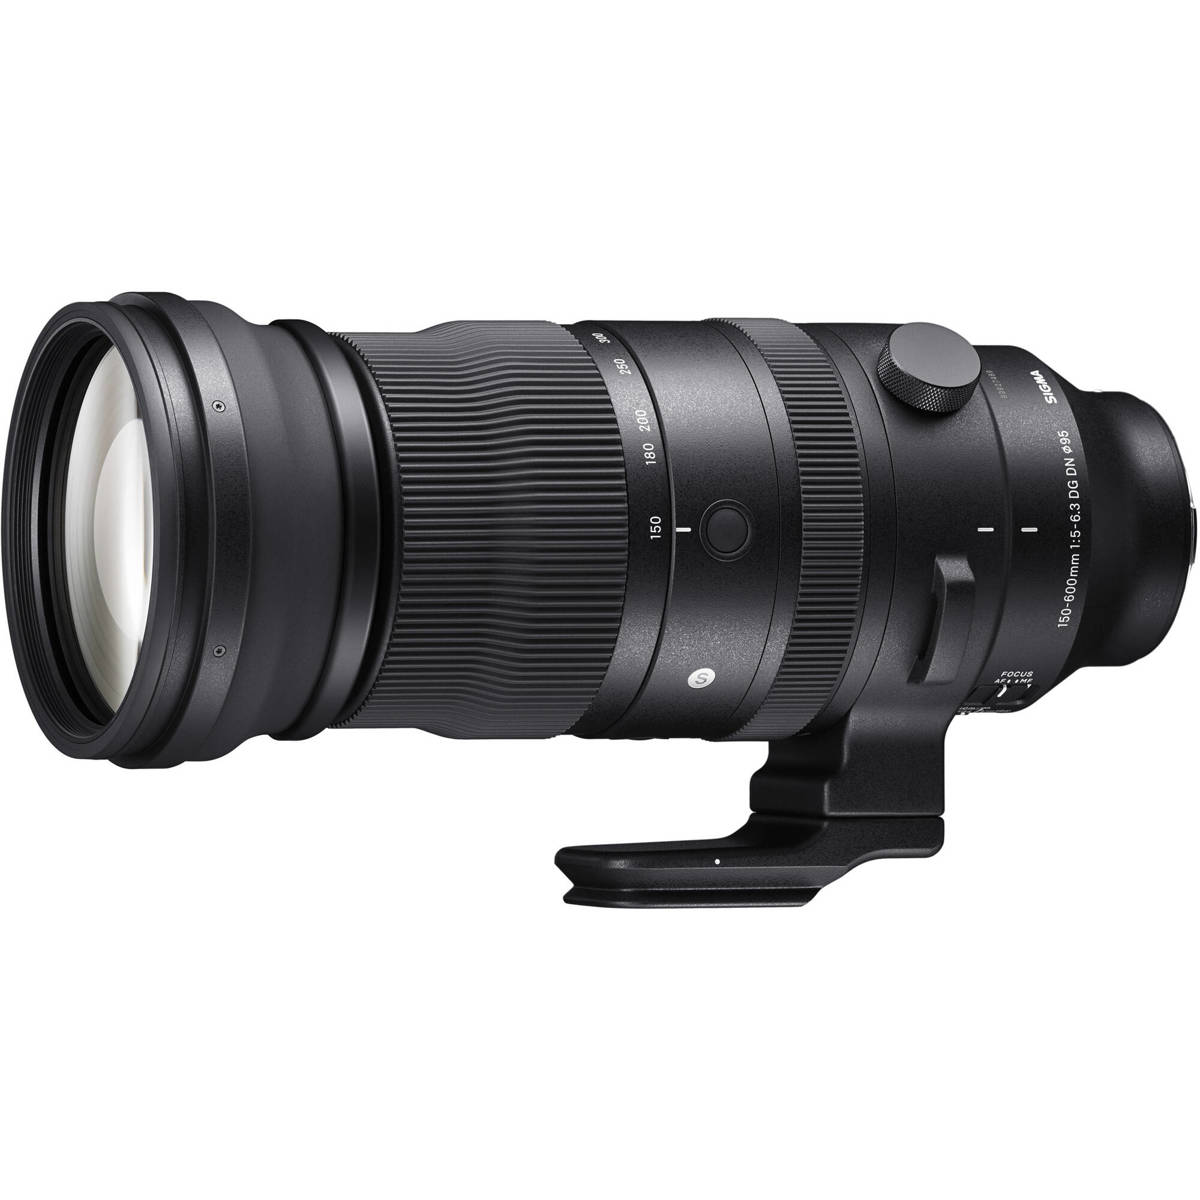
Best Telephoto Sports Lens – Exceptional reach and fast autofocus for action-packed shots.
FAQ Section
What is the best setting for beginners?
Start with Aperture Priority Mode (Av/A) and let the camera adjust shutter speed while keeping ISO low.
Why do my photos look too bright or too dark?
This happens due to incorrect exposure. Adjust ISO, shutter speed, or aperture to balance brightness.
Should I always use Auto ISO?
Auto ISO is useful for changing light conditions but set a maximum ISO limit to avoid excessive noise.
Want To Learn More?
For more in-depth guides, check out:
- Understanding Aperture in Photography: A Comprehensive Guide
- Understanding Shutter Speed in Photography: A Comprehensive Guide
- Understanding ISO in Photography: A Comprehensive Guide
Final Thoughts
Mastering the Exposure Triangle is essential for any photographer looking to take control of their images. By understanding the balance between shutter speed, aperture, and ISO, you can achieve well-exposed photos in any lighting condition. Experiment with different settings, adjust based on your environment, and refine your photography skills.