
Understanding Aperture in Photography: A Comprehensive Guide
Understand how aperture controls depth of field, light, and background blur in your photos. This guide explains f-stops, lens effects, and how to creatively use aperture for sharper portraits, landscapes, and low-light shots.
Aperture is one of the most fundamental concepts in photography. It influences depth of field, exposure, and the overall artistic feel of your images. Mastering aperture allows you to control background blur, create stunning bokeh, and achieve sharp landscape shots. In this guide, we’ll break down what aperture is, how it works, and when to use Aperture Priority mode for the best results.
This post contains affiliate links. If you make a purchase through these links, I may earn a commission at no additional cost to you. As an Amazon Associate, I earn from qualifying purchases.
Quick Summary: Mastering Aperture
📌 What is aperture? – Aperture is the opening in your lens that controls how much light reaches the sensor, affecting exposure and depth of field.
📌 What’s the best aperture for portraits? – Use f/1.8 - f/2.8 for a beautifully blurred background.
📌 How do I get everything in focus? – A narrow aperture like f/8 - f/16 ensures sharp details across the frame.
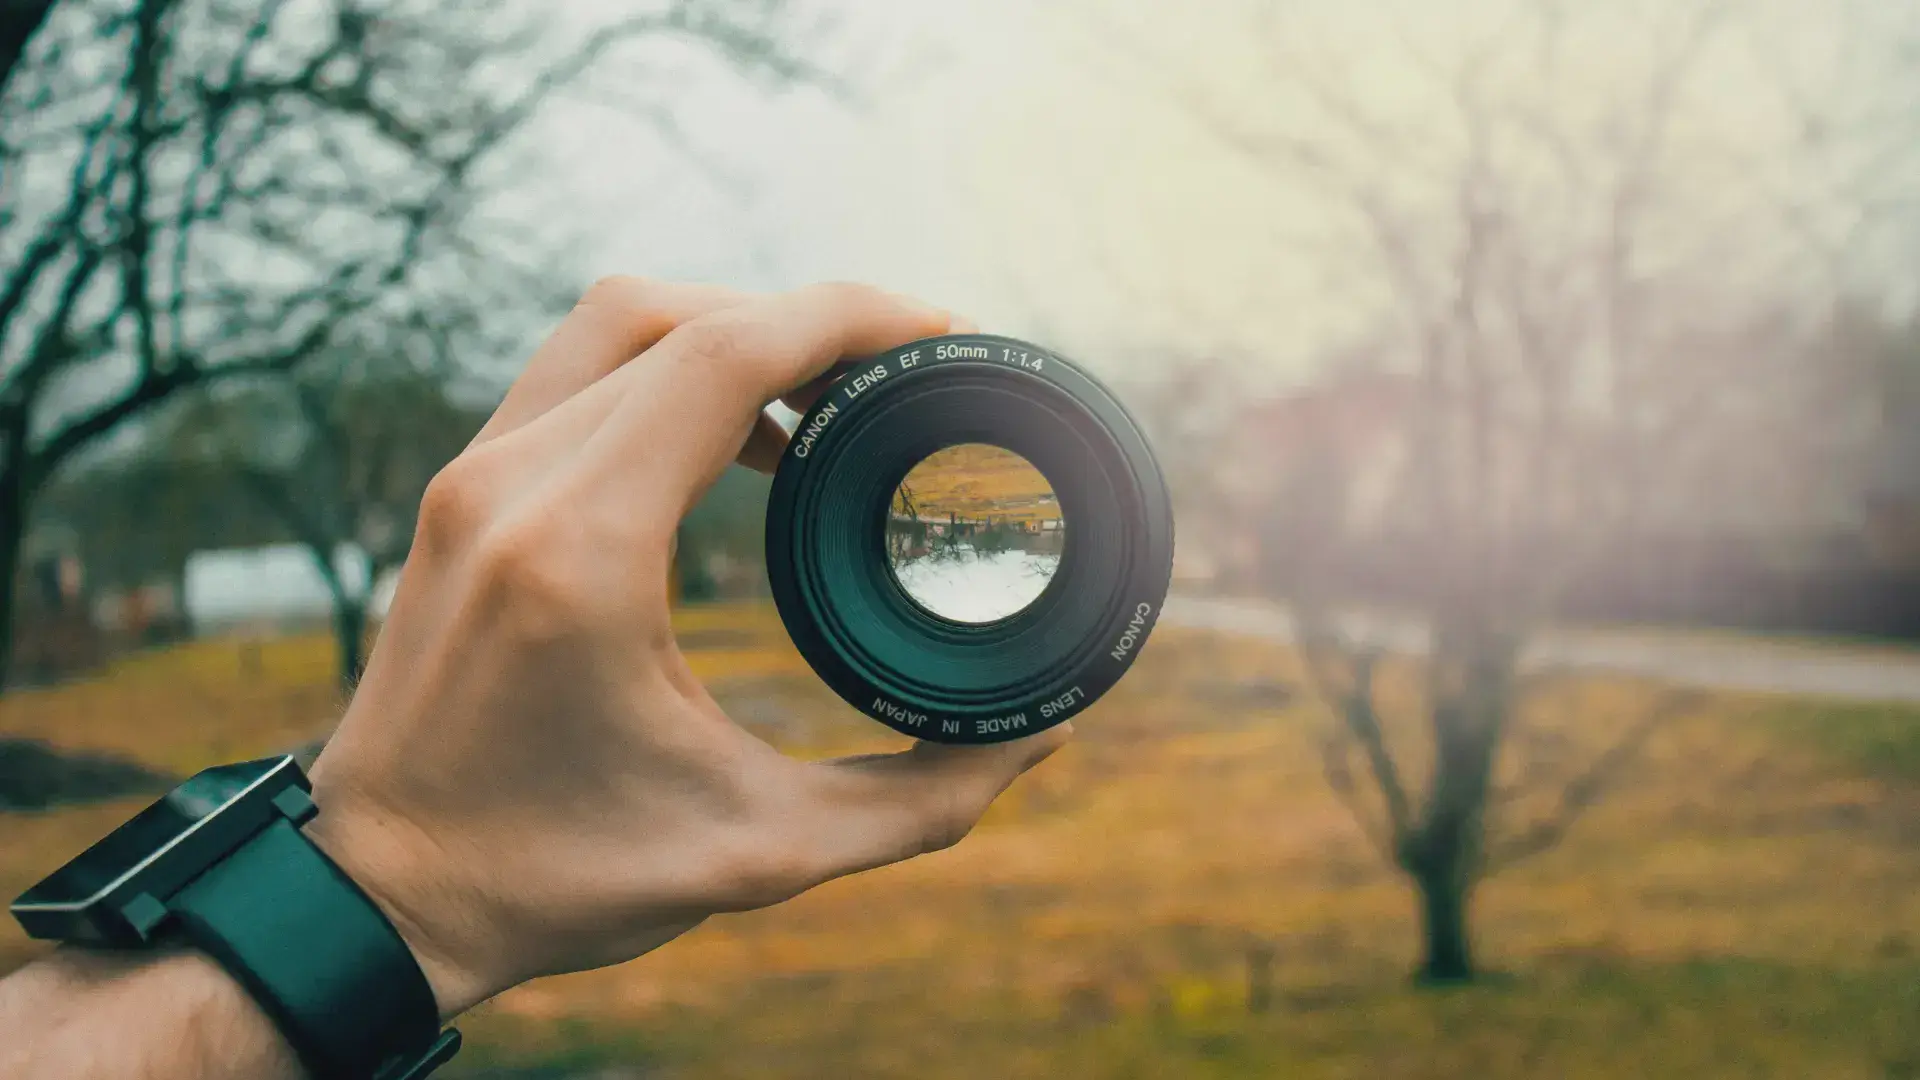
What is Aperture?
Aperture refers to the adjustable opening in your camera’s lens that regulates light intake. It’s measured in f-stops (f/1.4, f/2.8, f/5.6, f/11, etc.). A lower f-number (wide aperture) allows in more light and creates a shallow depth of field, while a higher f-number (narrow aperture) restricts light and increases depth of field.
Aperture Scale:
- Wide Aperture (f/1.4 - f/2.8): Ideal for portraits and low-light conditions with creamy bokeh.
- Moderate Aperture (f/4 - f/5.6): Versatile for everyday photography.
- Narrow Aperture (f/8 - f/16): Best for landscapes and deep-focus scenes.
Practical Examples of Aperture
| Aperture | Best Used For |
|---|---|
| f/1.4 - f/2.8 | Portraits, low-light photography, bokeh |
| f/4 - f/5.6 | General photography, travel shots |
| f/8 - f/11 | Landscapes, architecture |
| f/16 - f/22 | Maximum sharpness, deep focus scenes |
How Aperture Affects Your Photos
Aperture has a direct impact on two major aspects of an image:
- Depth of Field: A wide aperture (f/1.8) creates background blur (bokeh), while a narrow aperture (f/11) keeps everything in focus.
- Exposure: Wider apertures let in more light, great for dim environments, while narrow apertures limit light intake.
Real-World Applications:
📌 Portraits (f/1.8 - f/2.8): Soft background blur makes your subject stand out.
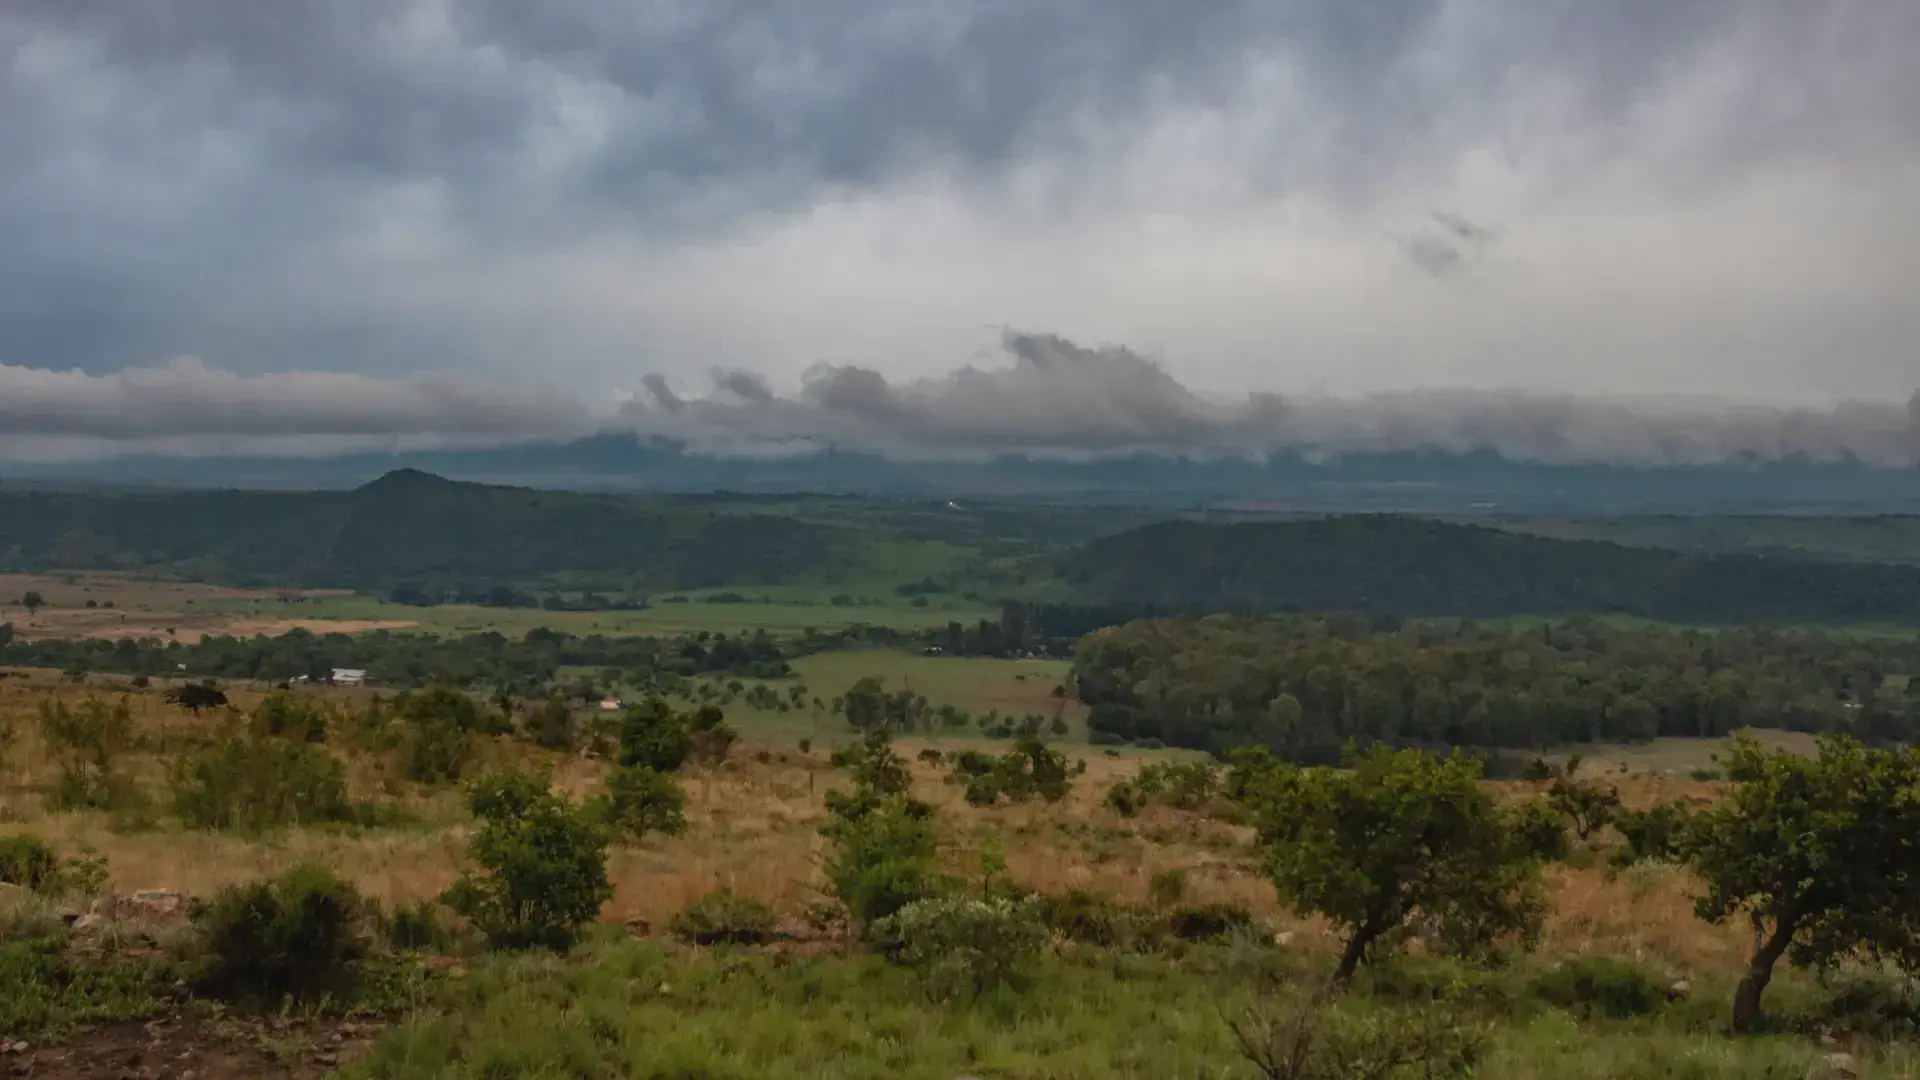
📌 Landscapes (f/8 - f/16): Deep depth of field ensures sharpness from foreground to background.
📌 Low-Light Photography (f/1.4 - f/2.8): Wide aperture allows more light, reducing noise at lower ISO.
📌 Macro Photography (f/4 - f/8): Helps balance depth of field and subject clarity.
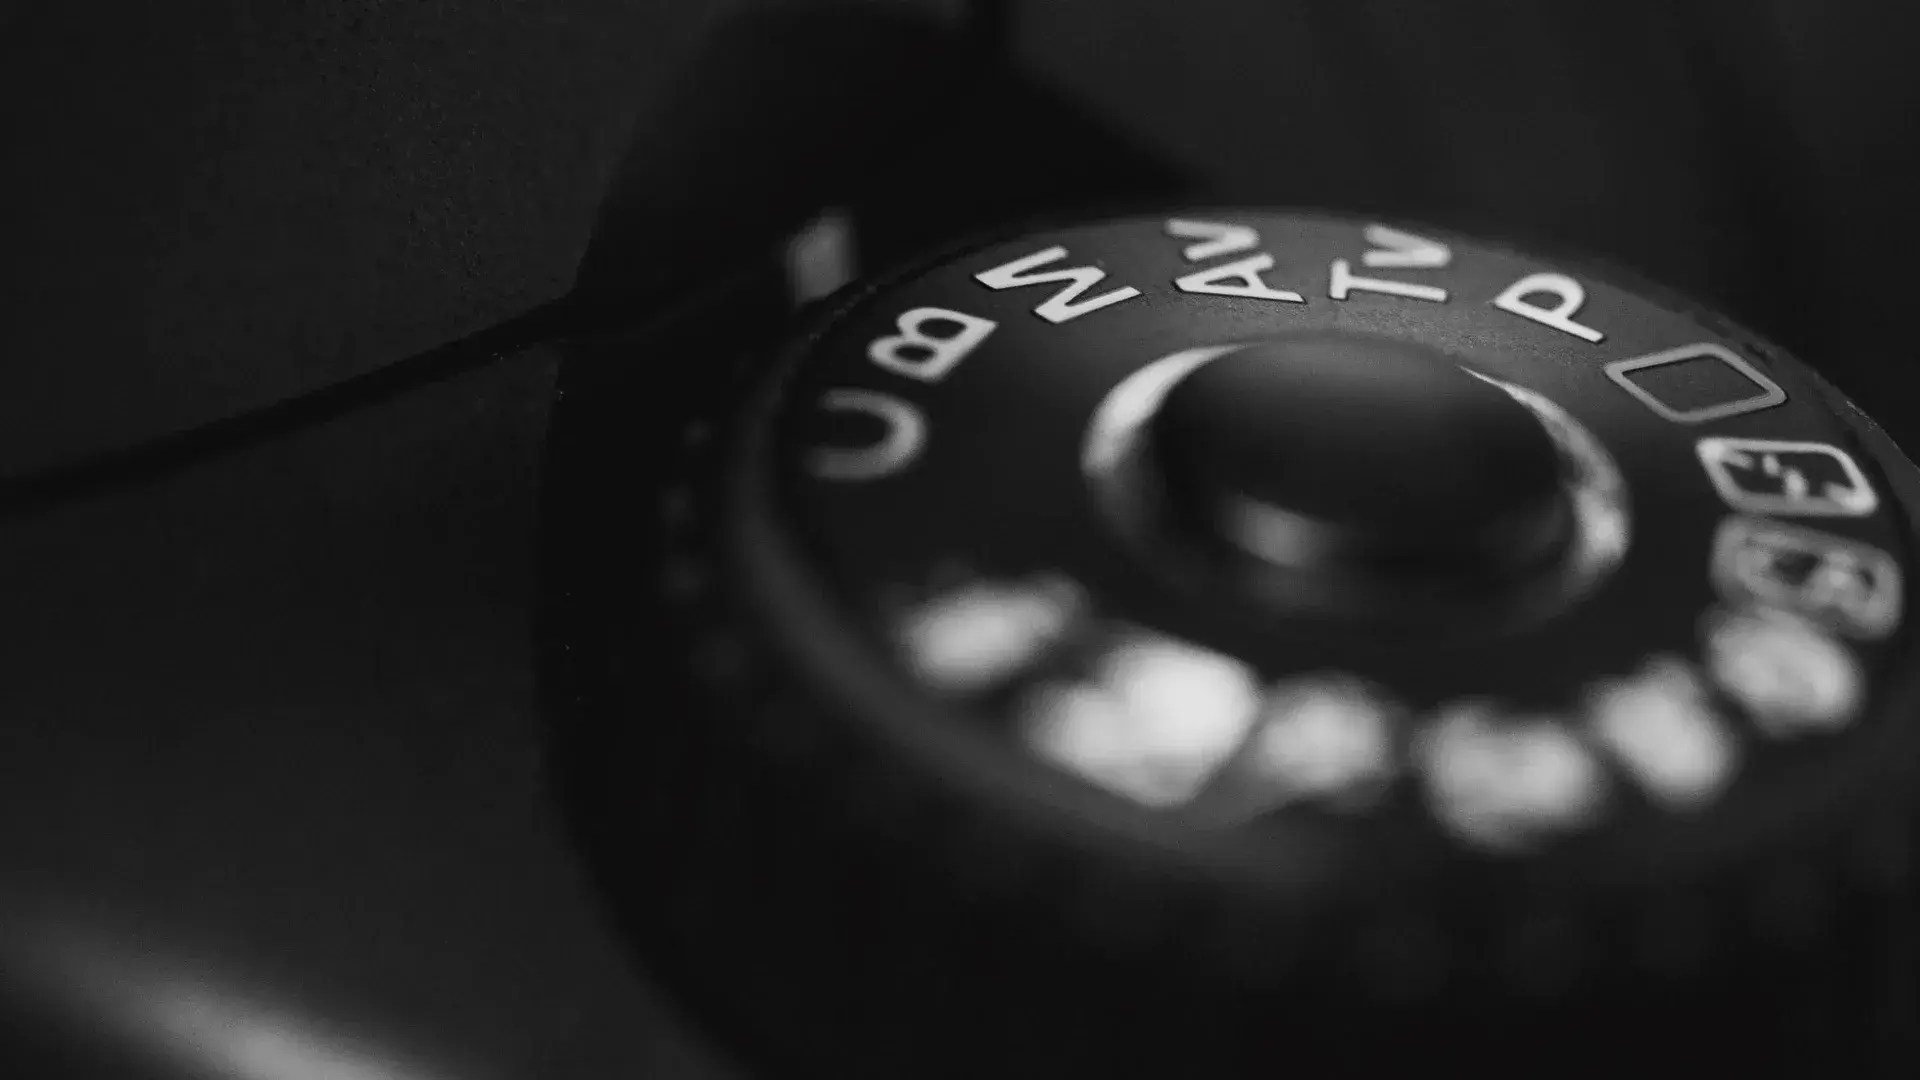
Understanding Aperture Priority Mode (A or Av Mode)
Aperture Priority mode allows you to set the aperture while the camera adjusts shutter speed for proper exposure. It’s especially useful in these scenarios:
- Portrait Photography: Use f/1.8 - f/2.8 for a pleasing background blur.
- Landscape Photography: Use f/8 - f/16 for sharpness throughout the frame.
- Low-Light Conditions: A wide aperture helps maximize light intake without increasing ISO.
- Street Photography: Set aperture to f/5.6 for a balance between subject focus and background detail.


When to Use Other Camera Modes
- Manual Mode (M): Full control over exposure settings, great for advanced photography.
- Shutter Priority Mode (S or Tv): Best for action shots where controlling motion blur is essential.
- Program Mode (P): Auto exposure with some manual flexibility.
Essential Gear for Mastering Aperture
To get the most out of aperture control, consider these essential accessories:
Best Budget Portrait Lens – Ideal for soft, dreamy bokeh.
Best Landscape Lens – Excellent sharpness for wide compositions.
Best Telephoto Lens – Most versatile telephoto lens for low light.

FAQ Section
What is the best aperture for portraits?
For portraits, use a wide aperture (f/1.8 - f/2.8) to create a beautifully blurred background.
Why are my images blurry with a wide aperture?
A shallow depth of field (f/1.4 - f/2.8) means even small movements can throw your subject out of focus. Increase your f-stop slightly for better focus control.
What is the sharpest aperture for most lenses?
Most lenses perform best between f/5.6 and f/11, known as the "sweet spot."
How can I get everything in focus in a landscape shot?
Use a narrow aperture (f/8 - f/16) and focus about one-third into the scene for maximum depth of field.
Want To Learn More?
For more photography tips and techniques, check out:
- Understanding Shutter Speed in Photography: A Comprehensive Guide
- Understanding ISO in Photography: A Comprehensive Guide
- Understanding the Exposure Triangle in Photography: A Comprehensive Guide
Final Thoughts
Mastering aperture is key to unlocking your creative potential in photography. Whether you're shooting portraits, landscapes, or street scenes, knowing how to adjust aperture gives you control over exposure, depth of field, and artistic effects.
Aperture Priority mode is an excellent tool for balancing creative control with camera automation, making it a valuable choice for photographers at all skill levels.